top of page
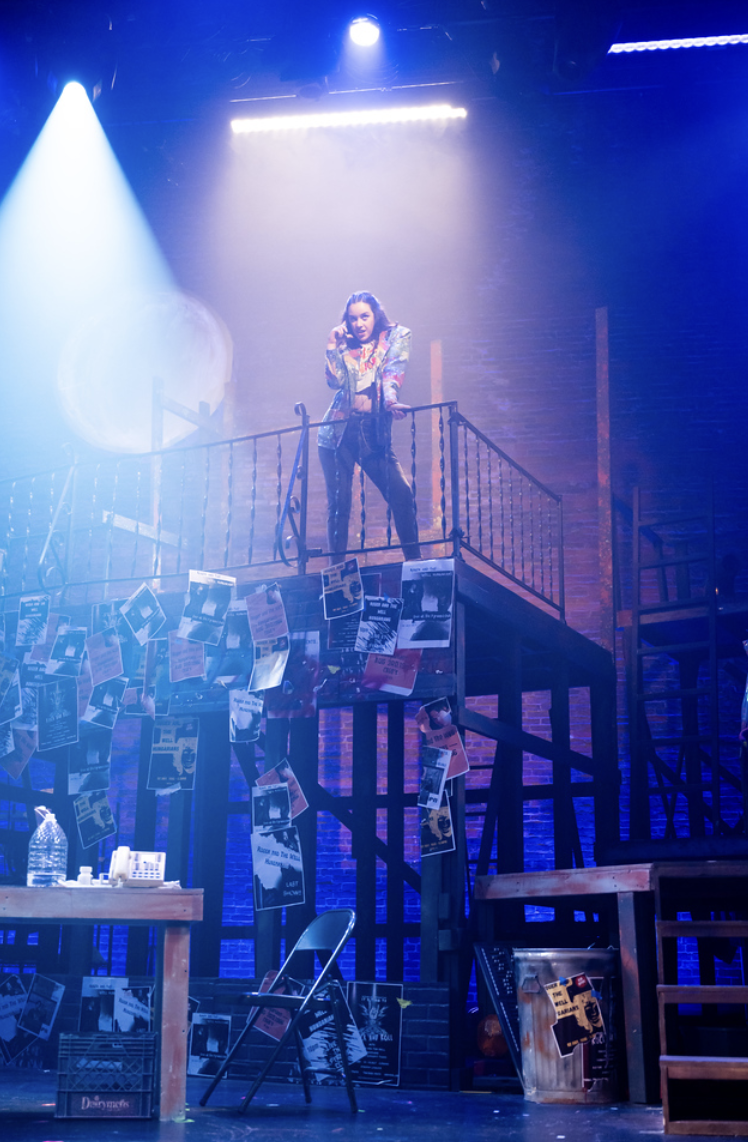
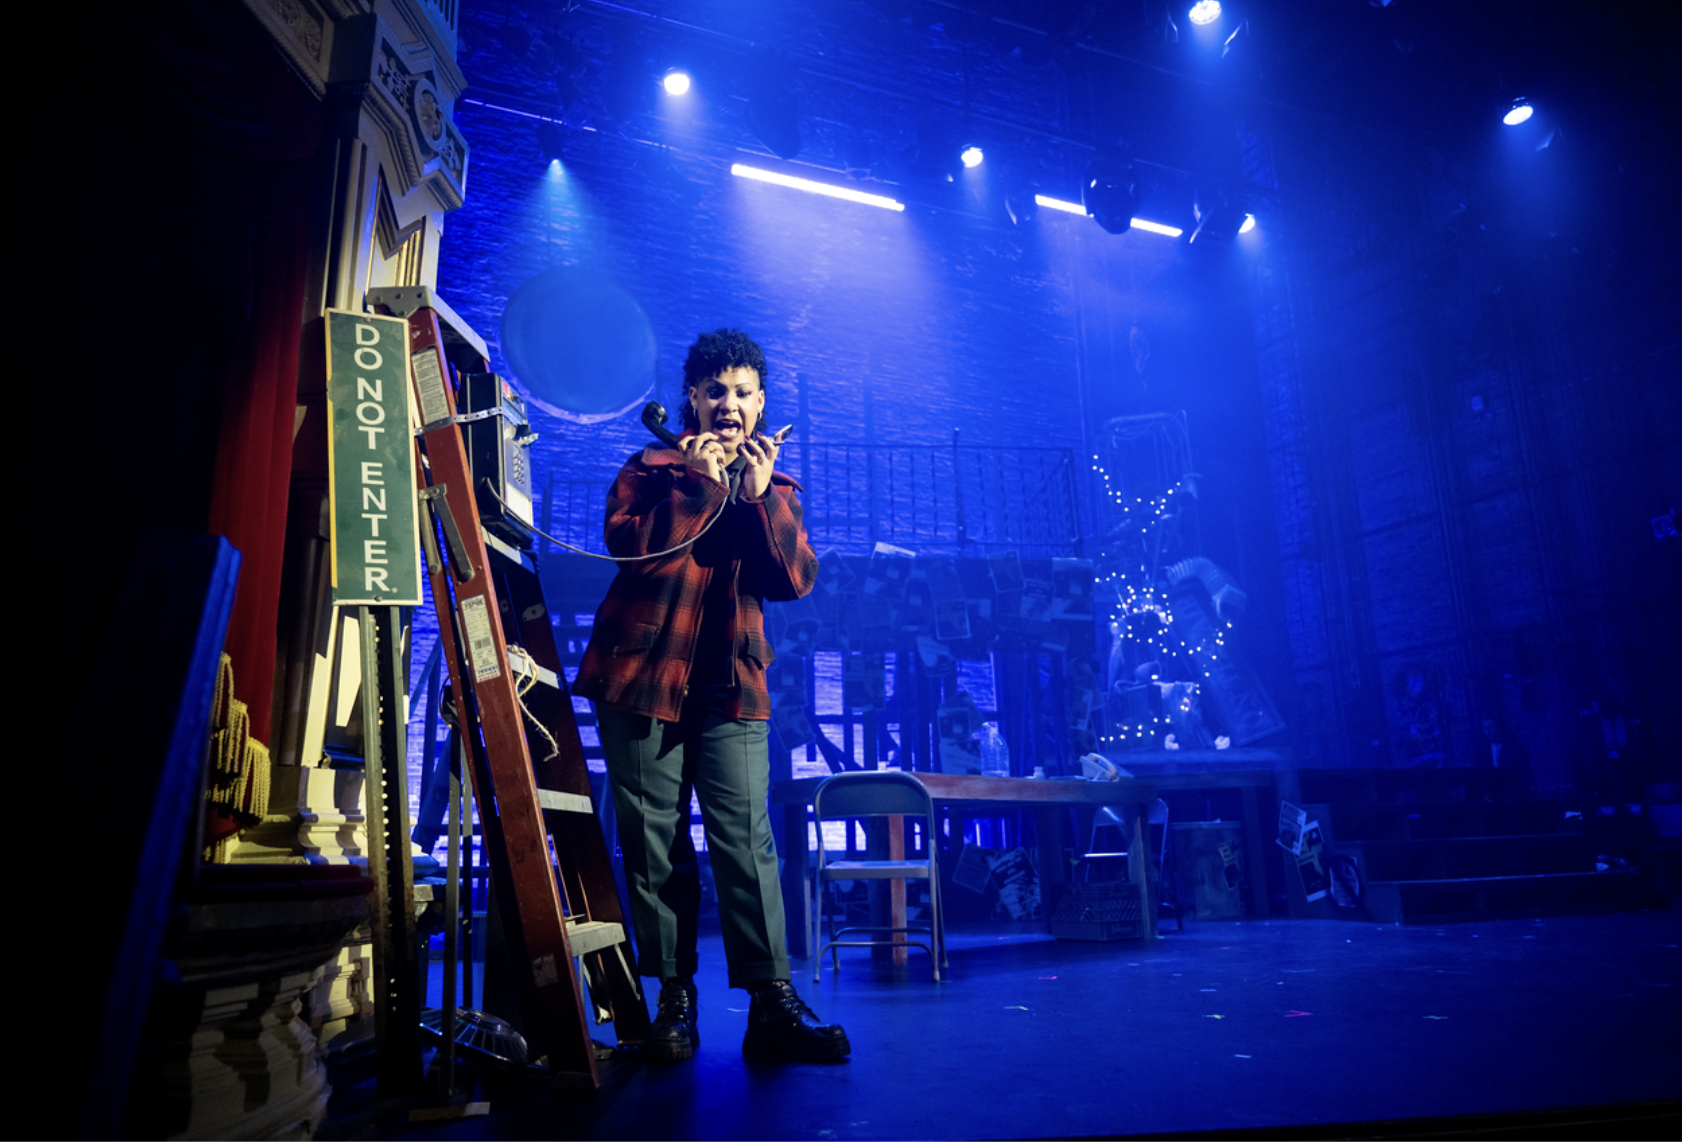
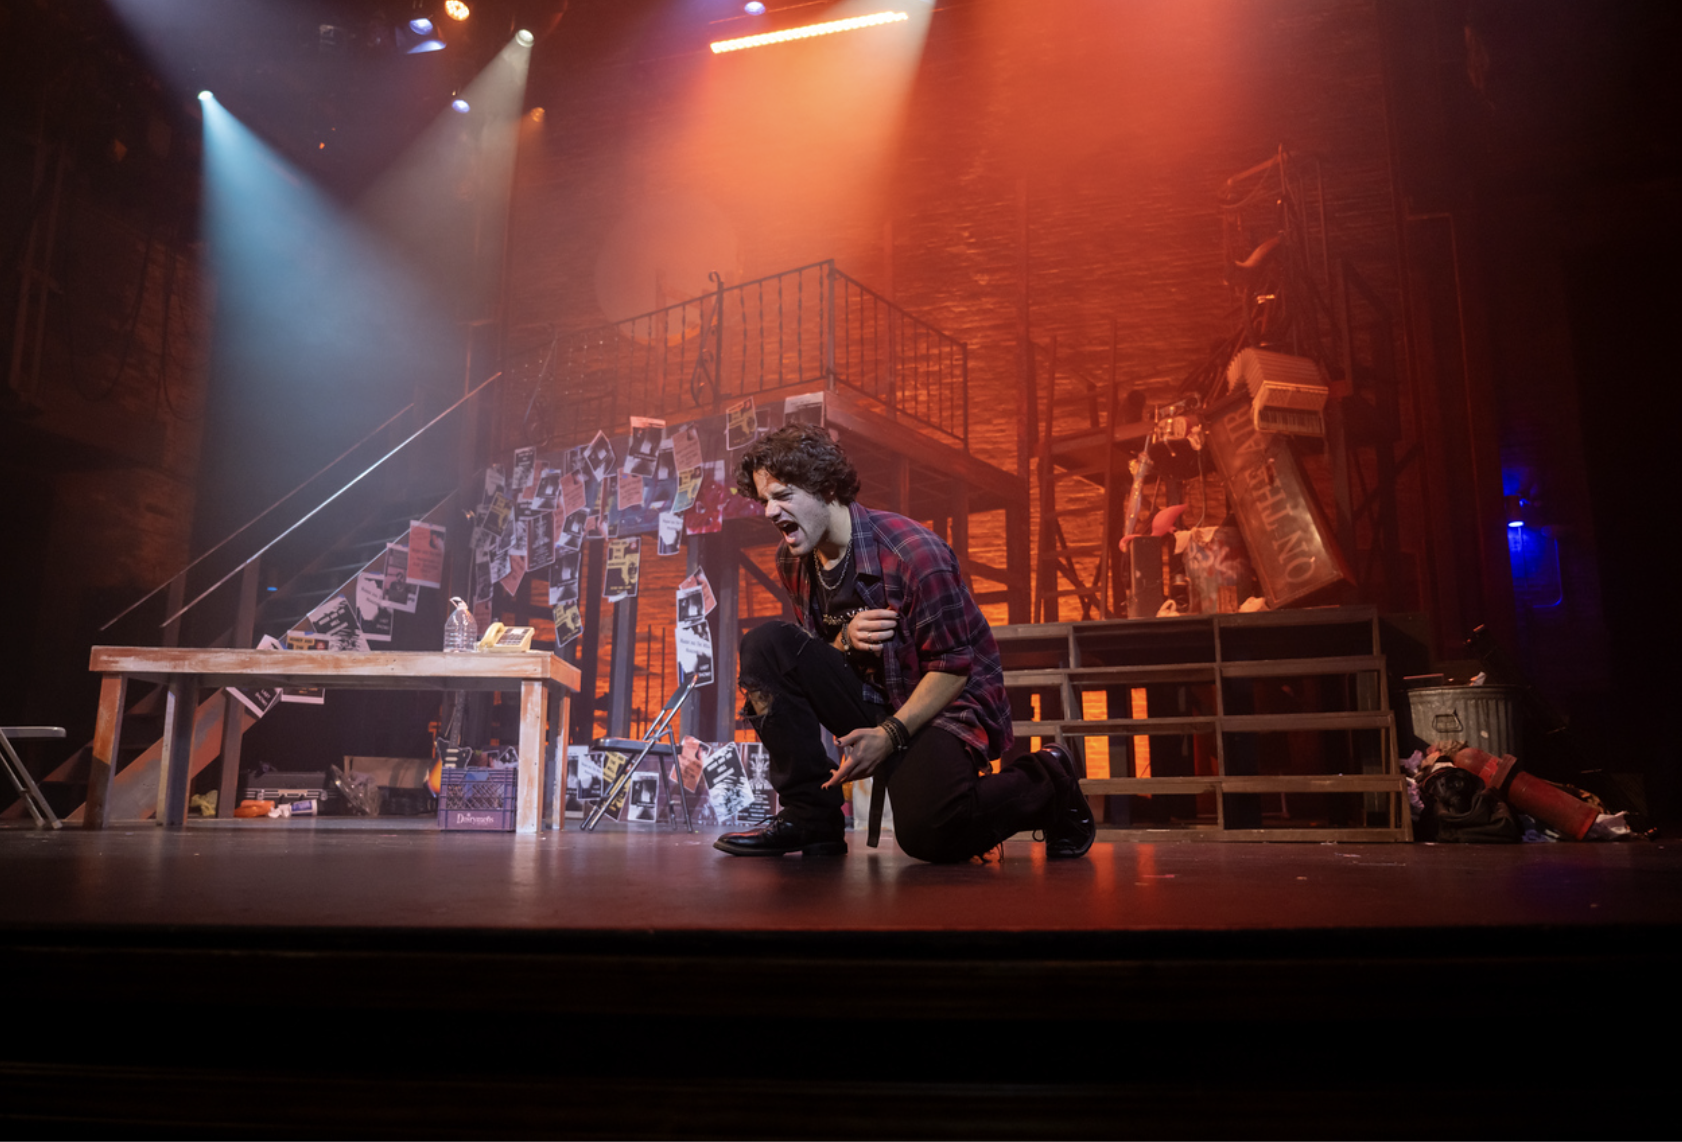
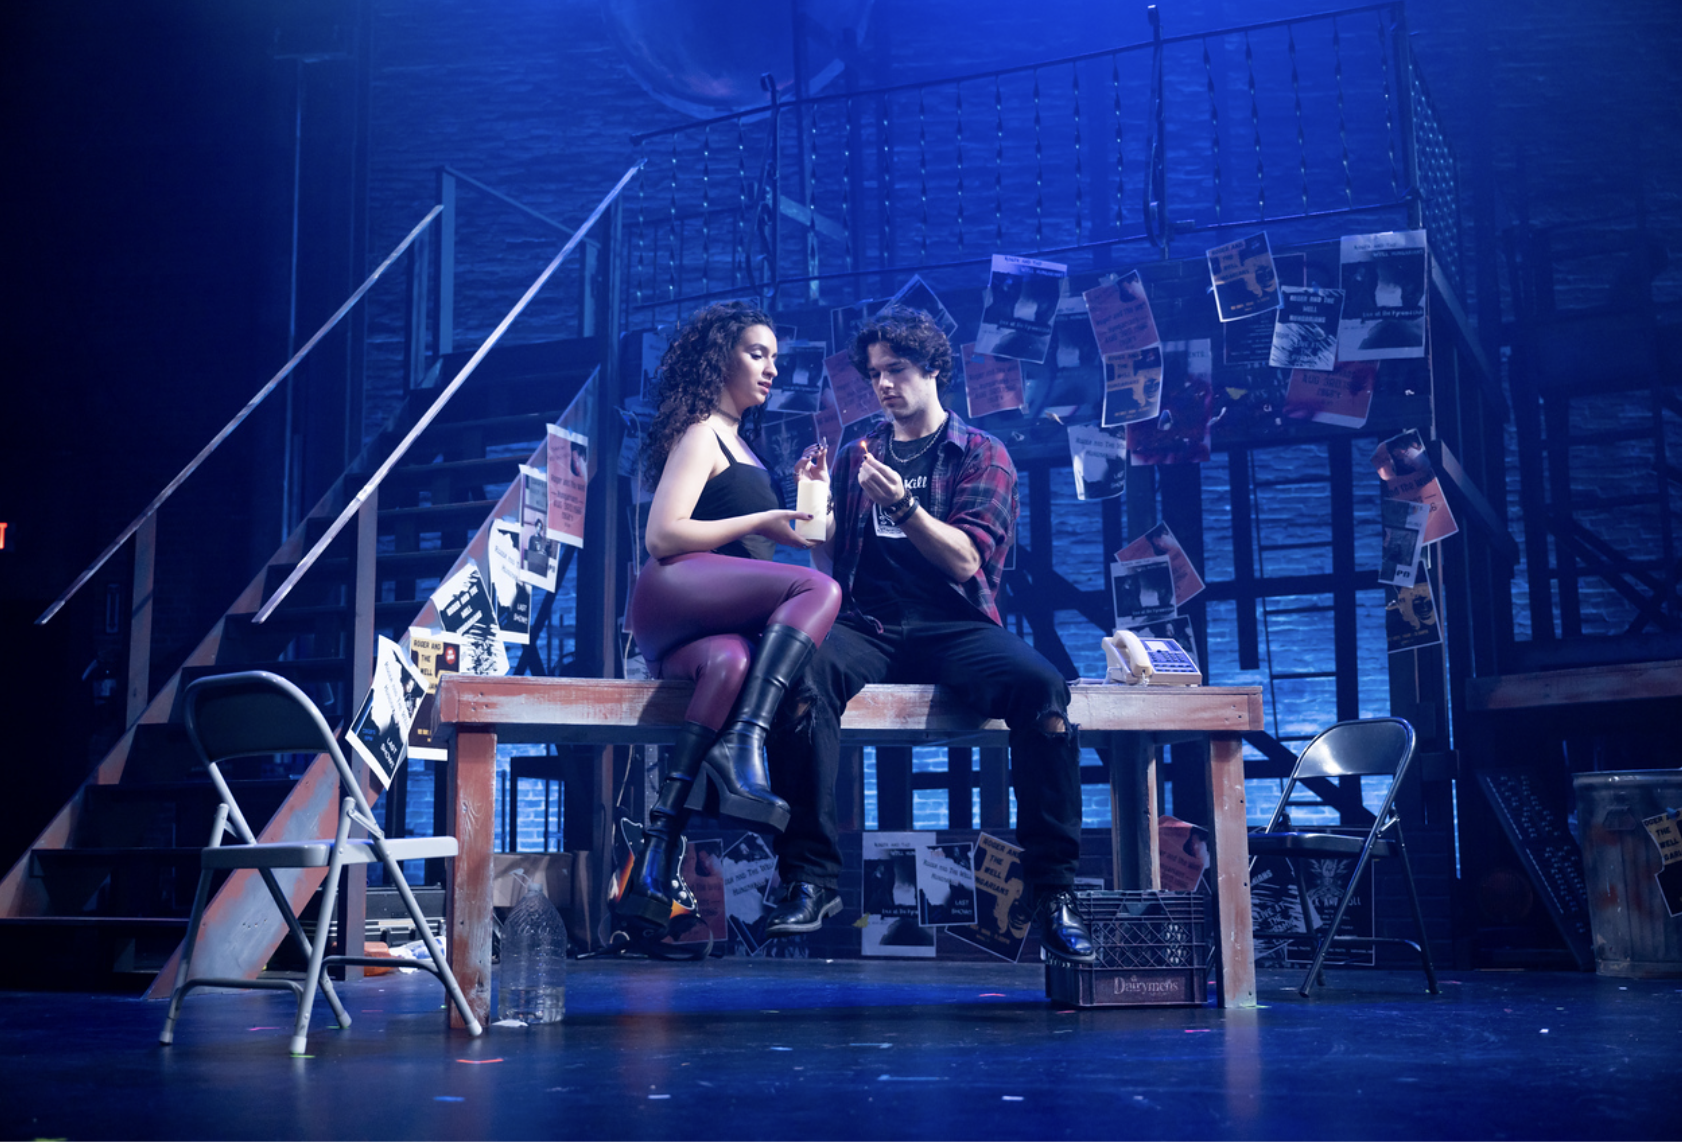
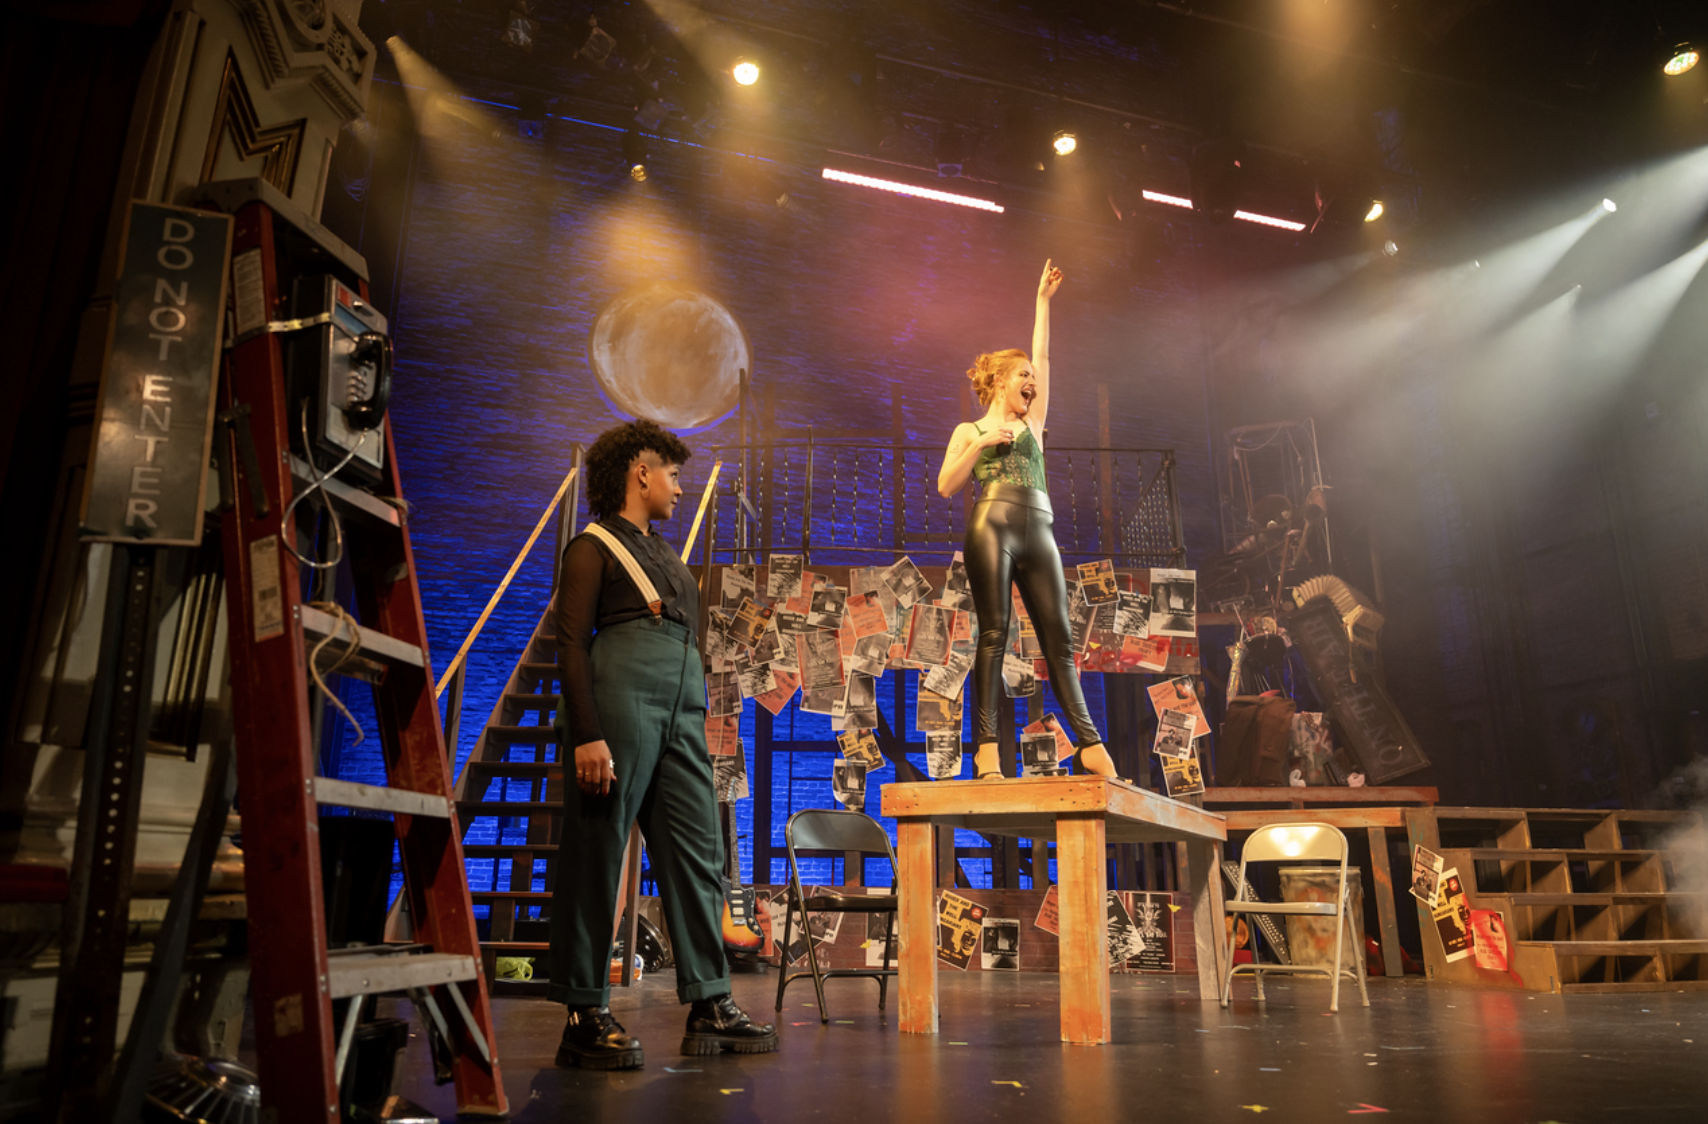
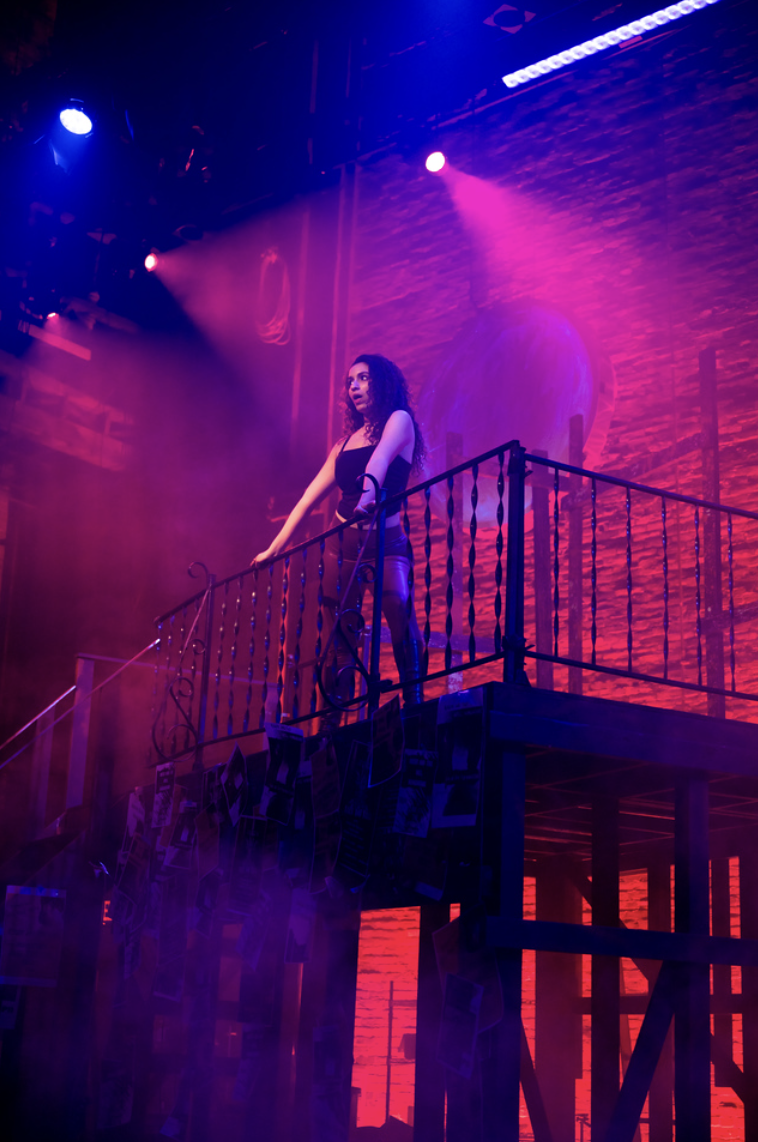
RENT
Play by: Jonathan Larson
Directed by: Brian Sage
Technical Director: Joshua Rockwell
The Tibbits Opera House
Photographer: Thomas Odem
Lighting: Jaimie Grensens
Costumes: Jade Zhang

01

02
Pasted Graphic 100.png
This is the area to introduce viewers to the context of this image. Briefly explain what it represents, why it matters, and how it aligns with the theme of your gallery.

03
Pasted Graphic 99.png
This is the area to introduce viewers to the context of this image. Briefly explain what it represents, why it matters, and how it aligns with the theme of your gallery.

04
Pasted Graphic 98.png
This is the area to introduce viewers to the context of this image. Briefly explain what it represents, why it matters, and how it aligns with the theme of your gallery.

05
Pasted Graphic 96.png
This is the area to introduce viewers to the context of this image. Briefly explain what it represents, why it matters, and how it aligns with the theme of your gallery.

06
Pasted Graphic 95.png
This is the area to introduce viewers to the context of this image. Briefly explain what it represents, why it matters, and how it aligns with the theme of your gallery.

07
Pasted Graphic 94.png
This is the area to introduce viewers to the context of this image. Briefly explain what it represents, why it matters, and how it aligns with the theme of your gallery.

08
Pasted Graphic 93.png
This is the area to introduce viewers to the context of this image. Briefly explain what it represents, why it matters, and how it aligns with the theme of your gallery.

09
Object Minimalism
This is the area to introduce viewers to the context of this image. Briefly explain what it represents, why it matters, and how it aligns with the theme of your gallery.
01 / 09
01
02
Pasted Graphic 100.png
This is the area to introduce viewers to the context of this image. Briefly explain what it represents, why it matters, and how it aligns with the theme of your gallery.
03
Pasted Graphic 99.png
This is the area to introduce viewers to the context of this image. Briefly explain what it represents, why it matters, and how it aligns with the theme of your gallery.
04
Pasted Graphic 98.png
This is the area to introduce viewers to the context of this image. Briefly explain what it represents, why it matters, and how it aligns with the theme of your gallery.
05
Pasted Graphic 96.png
This is the area to introduce viewers to the context of this image. Briefly explain what it represents, why it matters, and how it aligns with the theme of your gallery.
06
Pasted Graphic 95.png
This is the area to introduce viewers to the context of this image. Briefly explain what it represents, why it matters, and how it aligns with the theme of your gallery.
07
Pasted Graphic 94.png
This is the area to introduce viewers to the context of this image. Briefly explain what it represents, why it matters, and how it aligns with the theme of your gallery.
08
Pasted Graphic 93.png
This is the area to introduce viewers to the context of this image. Briefly explain what it represents, why it matters, and how it aligns with the theme of your gallery.
09
Object Minimalism
This is the area to introduce viewers to the context of this image. Briefly explain what it represents, why it matters, and how it aligns with the theme of your gallery.



01
02

03

04

05

06

07

08
Pasted Graphic 84.png

09
Pasted Graphic 85.png

10
Pasted Graphic 86.png
This is the area to introduce viewers to the context of this image. Briefly explain what it represents, why it matters, and how it aligns with the theme of your gallery.

11
Pasted Graphic 87.png
This is the area to introduce viewers to the context of this image. Briefly explain what it represents, why it matters, and how it aligns with the theme of your gallery.

12
Pasted Graphic 88.png
This is the area to introduce viewers to the context of this image. Briefly explain what it represents, why it matters, and how it aligns with the theme of your gallery.

13
Pasted Graphic 89.png
This is the area to introduce viewers to the context of this image. Briefly explain what it represents, why it matters, and how it aligns with the theme of your gallery.

14
Pasted Graphic 90.png
This is the area to introduce viewers to the context of this image. Briefly explain what it represents, why it matters, and how it aligns with the theme of your gallery.

15
Pasted Graphic 91.png
This is the area to introduce viewers to the context of this image. Briefly explain what it represents, why it matters, and how it aligns with the theme of your gallery.

16
Pasted Graphic 92.png
This is the area to introduce viewers to the context of this image. Briefly explain what it represents, why it matters, and how it aligns with the theme of your gallery.
17
Pasted Graphic 93.png
This is the area to introduce viewers to the context of this image. Briefly explain what it represents, why it matters, and how it aligns with the theme of your gallery.
01 / 17
01
02
03
04
05
06
07
08
Pasted Graphic 84.png
09
Pasted Graphic 85.png
10
Pasted Graphic 86.png
This is the area to introduce viewers to the context of this image. Briefly explain what it represents, why it matters, and how it aligns with the theme of your gallery.
11
Pasted Graphic 87.png
This is the area to introduce viewers to the context of this image. Briefly explain what it represents, why it matters, and how it aligns with the theme of your gallery.
12
Pasted Graphic 88.png
This is the area to introduce viewers to the context of this image. Briefly explain what it represents, why it matters, and how it aligns with the theme of your gallery.
13
Pasted Graphic 89.png
This is the area to introduce viewers to the context of this image. Briefly explain what it represents, why it matters, and how it aligns with the theme of your gallery.
14
Pasted Graphic 90.png
This is the area to introduce viewers to the context of this image. Briefly explain what it represents, why it matters, and how it aligns with the theme of your gallery.
15
Pasted Graphic 91.png
This is the area to introduce viewers to the context of this image. Briefly explain what it represents, why it matters, and how it aligns with the theme of your gallery.
16
Pasted Graphic 92.png
This is the area to introduce viewers to the context of this image. Briefly explain what it represents, why it matters, and how it aligns with the theme of your gallery.
17
Pasted Graphic 93.png
This is the area to introduce viewers to the context of this image. Briefly explain what it represents, why it matters, and how it aligns with the theme of your gallery.








bottom of page