top of page
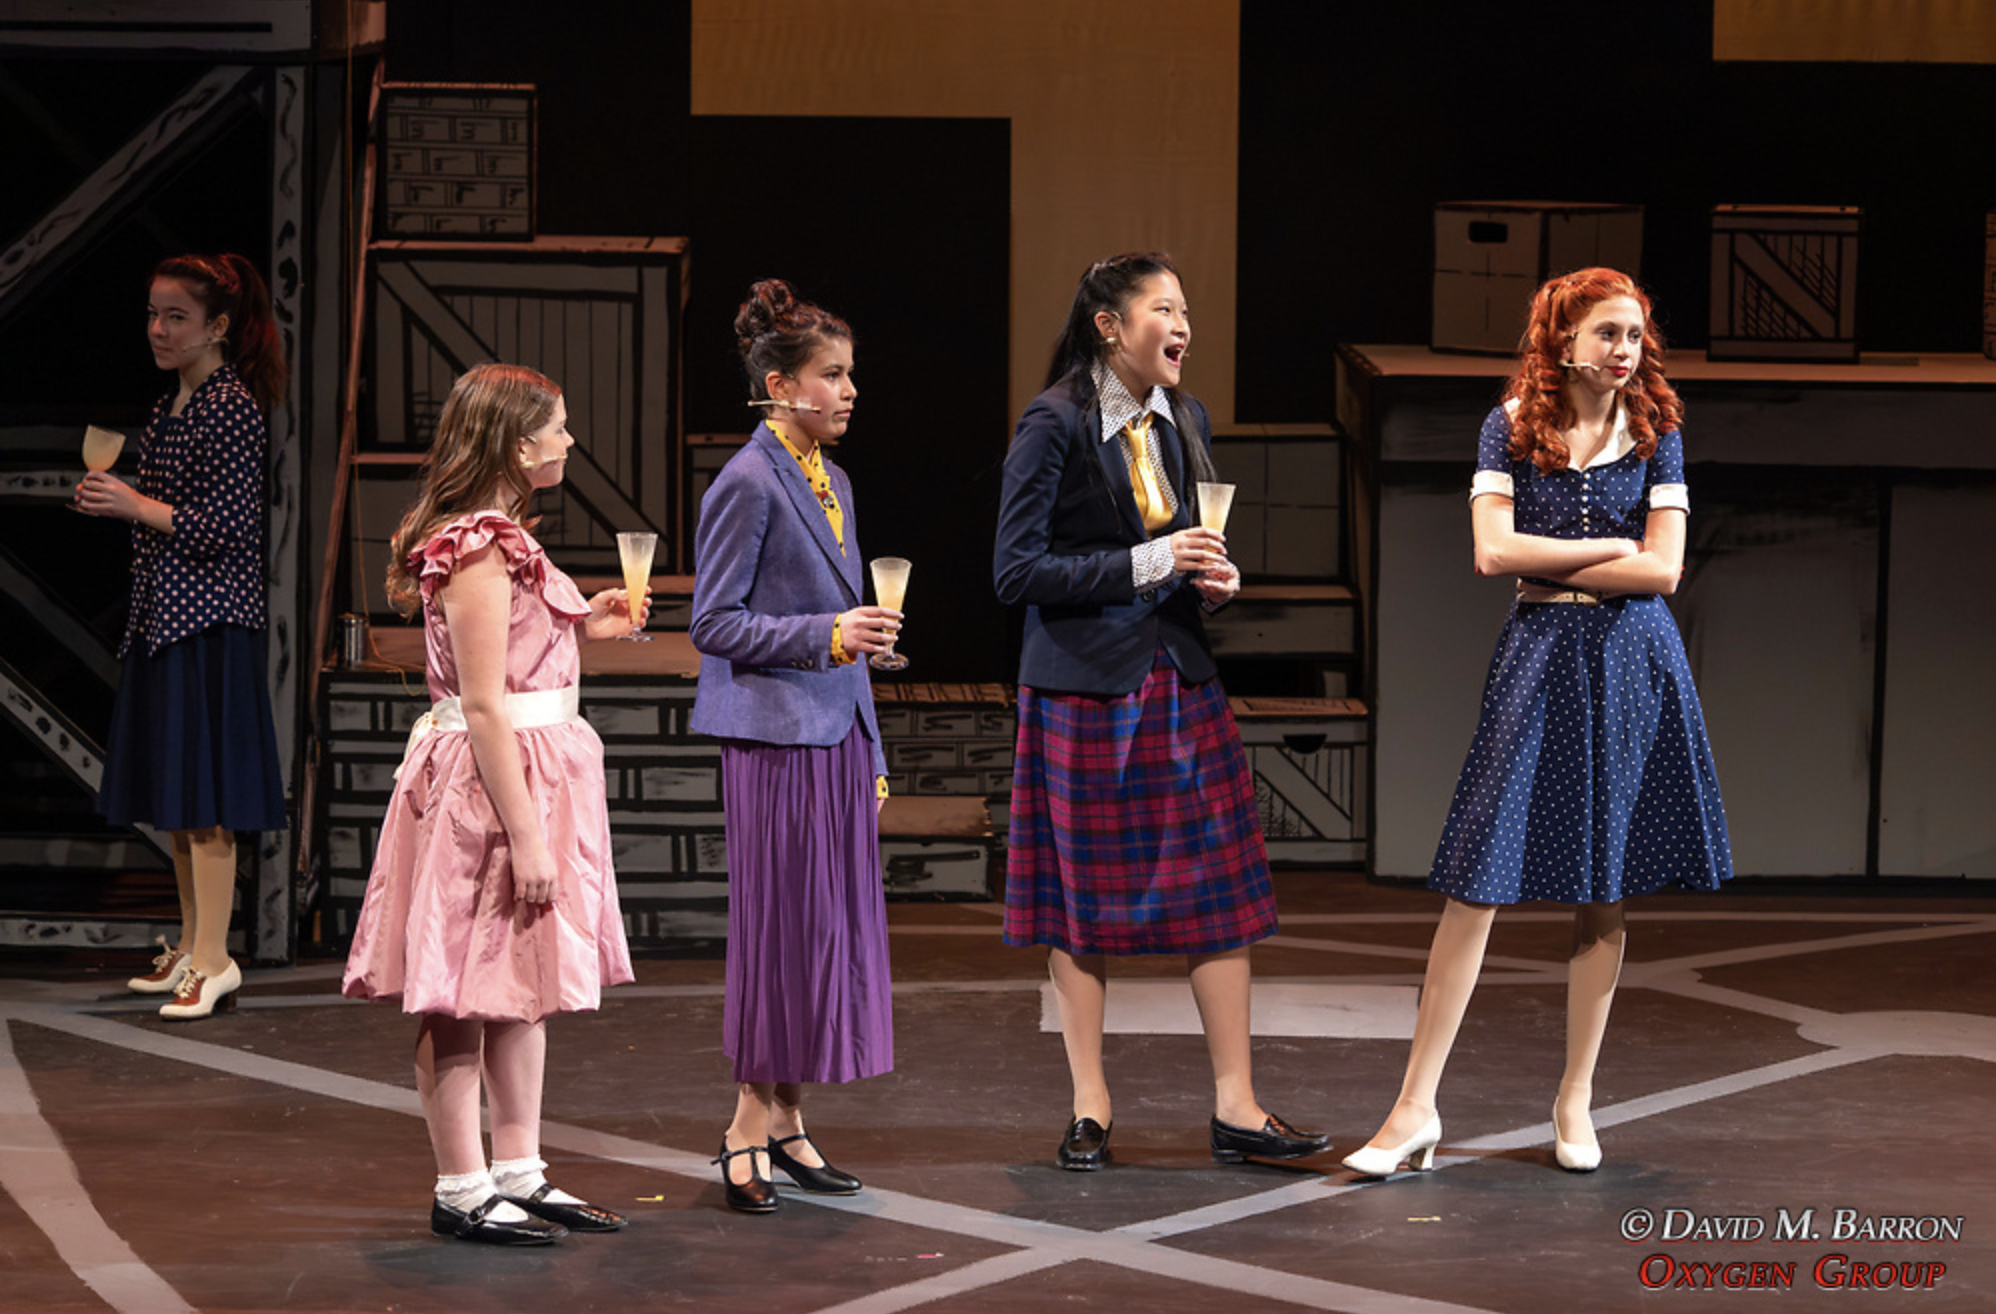
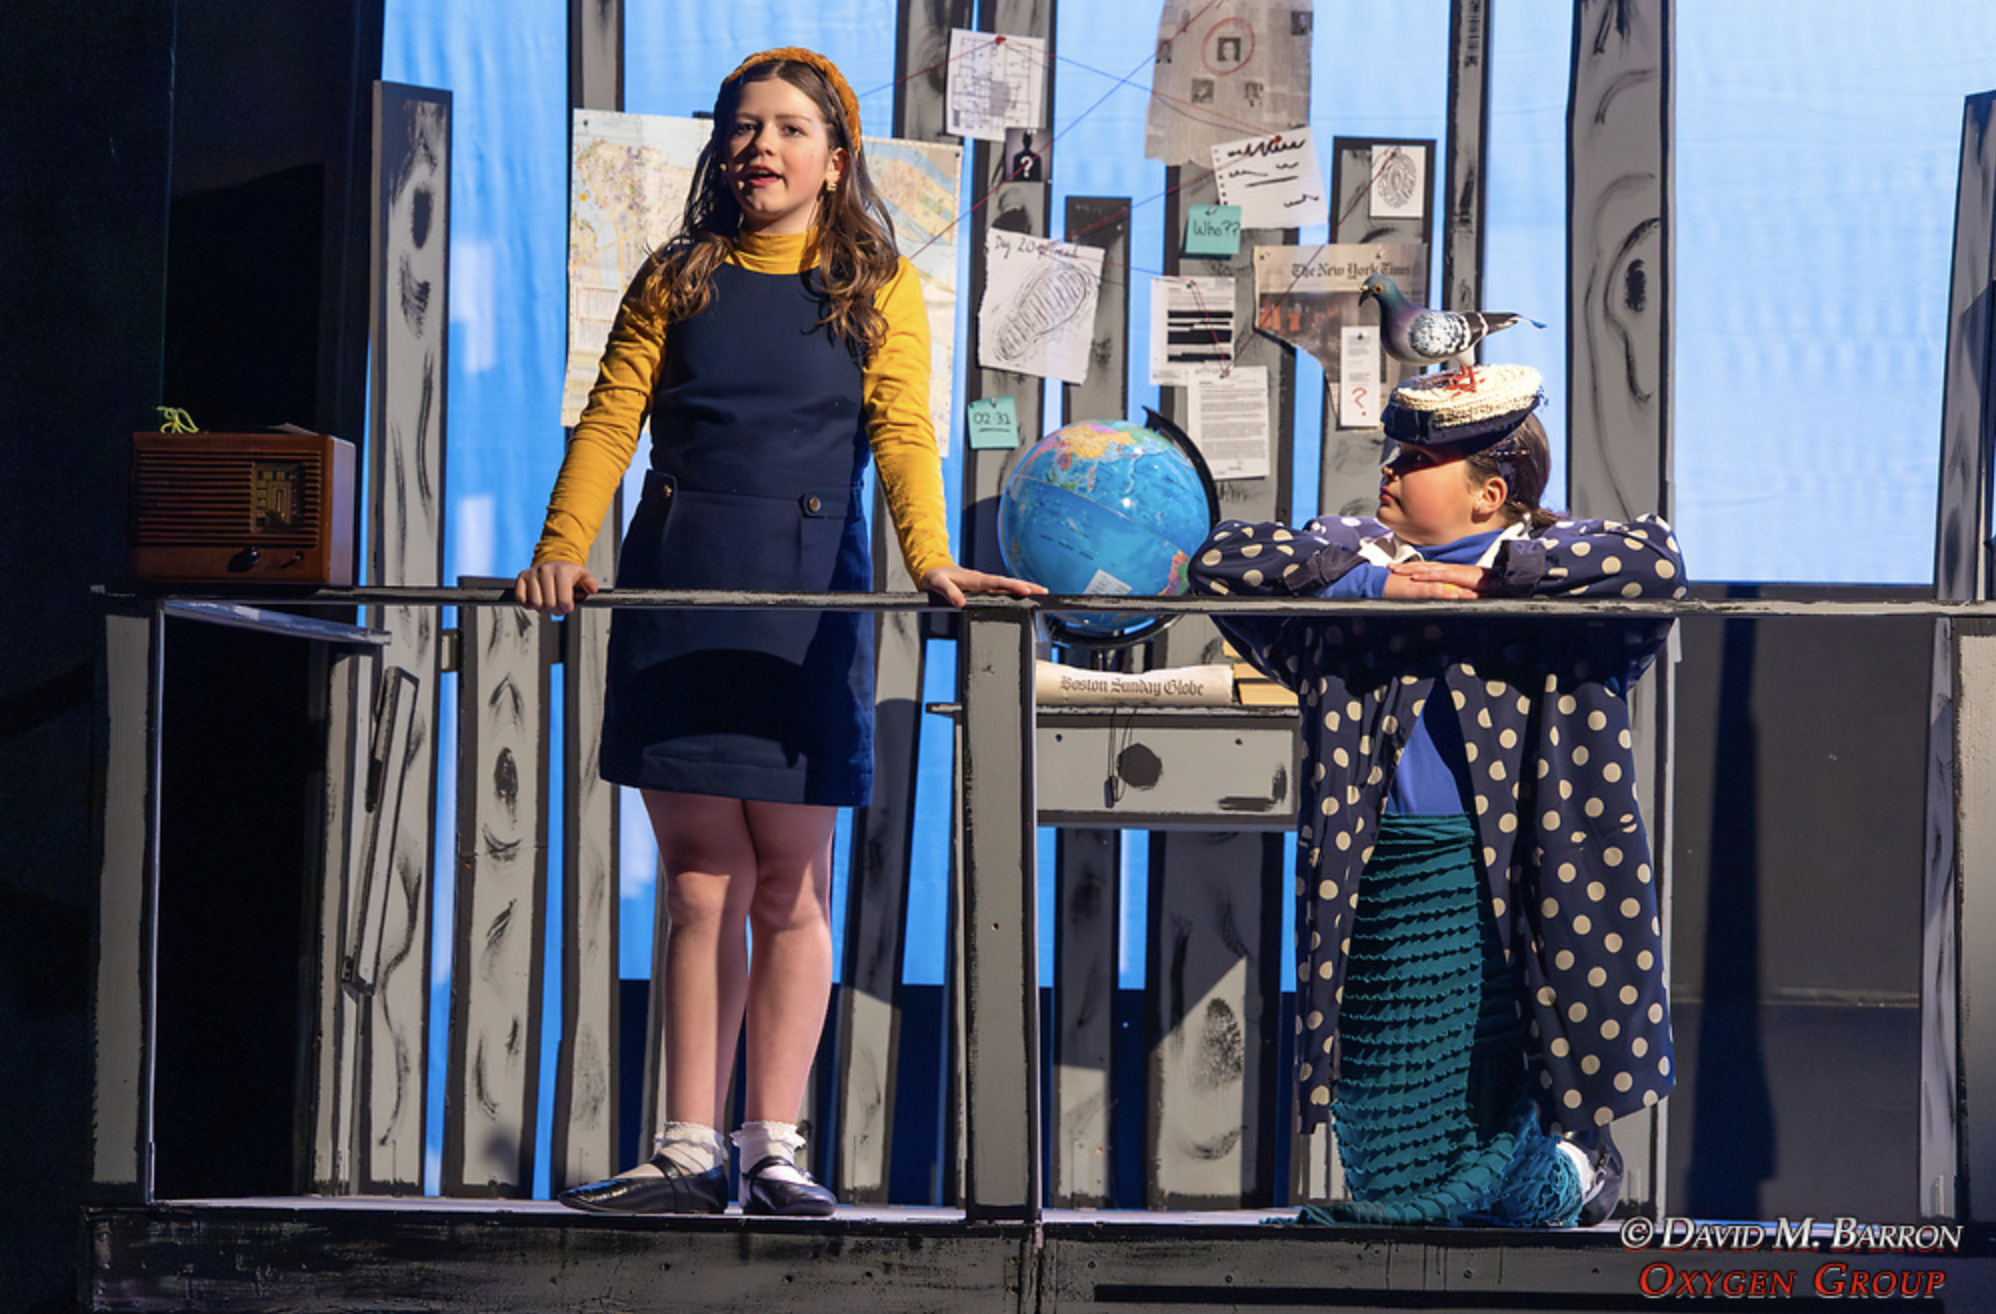
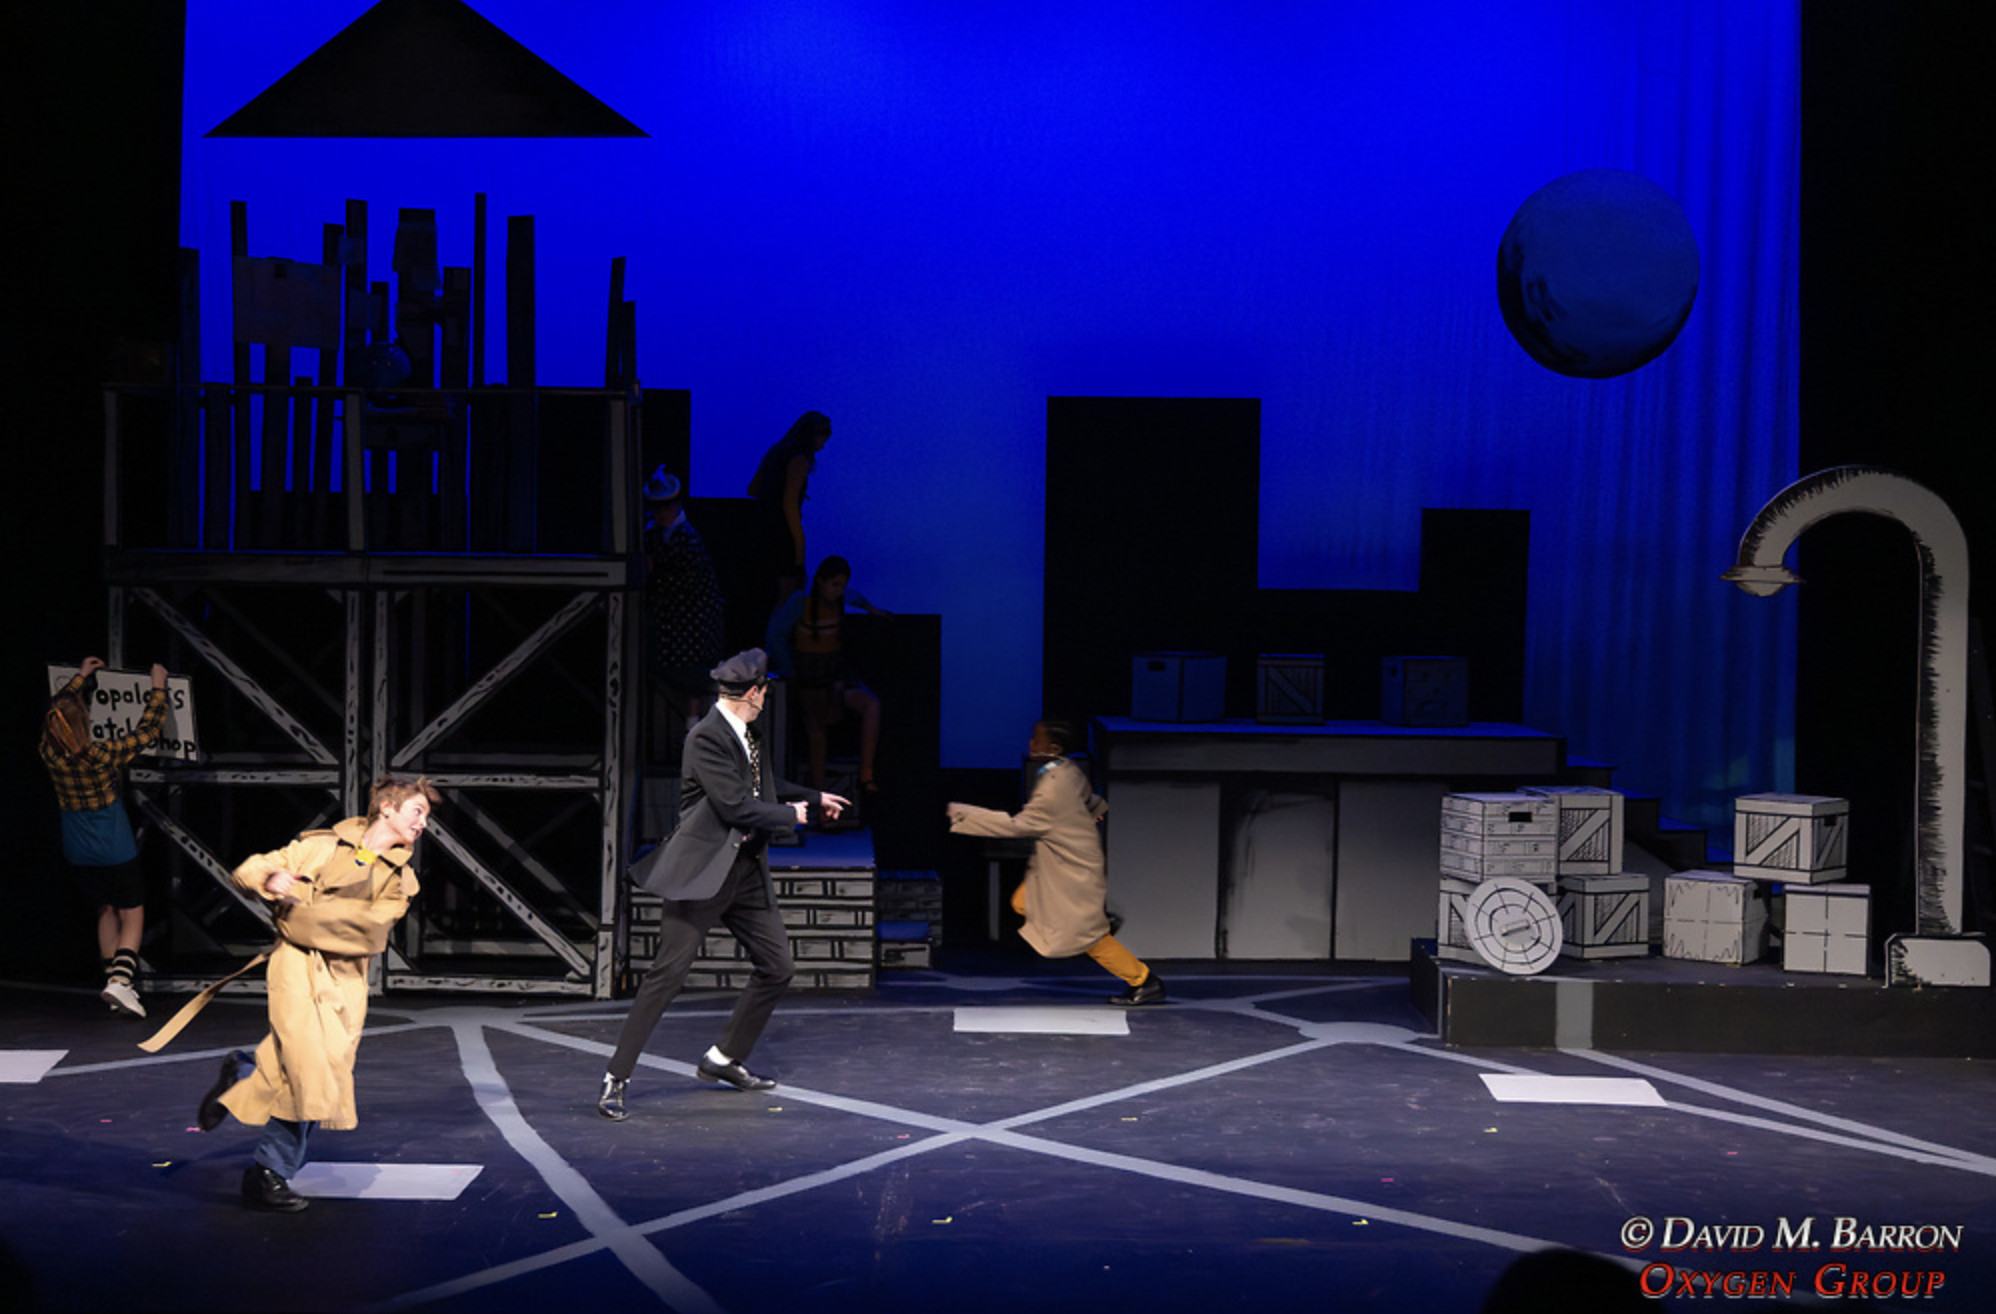
THE GREAT IGNORED
Play by: Jonathan Larson
Directed by: Caitlyn Johnson
Technical Director: Bill Jacos
Brimmer and May
Photographer: David Barron
Lighting: Laura Hildebrand
Costumes: Georgia Lagadinos

01
Pasted Graphic 110.png
This is the area to introduce viewers to the context of this image. Briefly explain what it represents, why it matters, and how it aligns with the theme of your gallery.

02
Pasted Graphic 113.png
This is the area to introduce viewers to the context of this image. Briefly explain what it represents, why it matters, and how it aligns with the theme of your gallery.

03
© DAVID M. BARRON.png
This is the area to introduce viewers to the context of this image. Briefly explain what it represents, why it matters, and how it aligns with the theme of your gallery.

04
OXYCEN GROUP.png
This is the area to introduce viewers to the context of this image. Briefly explain what it represents, why it matters, and how it aligns with the theme of your gallery.

05
Pasted Graphic 114.png
This is the area to introduce viewers to the context of this image. Briefly explain what it represents, why it matters, and how it aligns with the theme of your gallery.

06
Pasted Graphic 115.png
This is the area to introduce viewers to the context of this image. Briefly explain what it represents, why it matters, and how it aligns with the theme of your gallery.

07
Pasted Graphic 116.png
This is the area to introduce viewers to the context of this image. Briefly explain what it represents, why it matters, and how it aligns with the theme of your gallery.

08
01 / 08
Pasted Graphic 110.png
This is the area to introduce viewers to the context of this image. Briefly explain what it represents, why it matters, and how it aligns with the theme of your gallery.
01
Pasted Graphic 110.png
This is the area to introduce viewers to the context of this image. Briefly explain what it represents, why it matters, and how it aligns with the theme of your gallery.
02
Pasted Graphic 113.png
This is the area to introduce viewers to the context of this image. Briefly explain what it represents, why it matters, and how it aligns with the theme of your gallery.
03
© DAVID M. BARRON.png
This is the area to introduce viewers to the context of this image. Briefly explain what it represents, why it matters, and how it aligns with the theme of your gallery.
04
OXYCEN GROUP.png
This is the area to introduce viewers to the context of this image. Briefly explain what it represents, why it matters, and how it aligns with the theme of your gallery.
05
Pasted Graphic 114.png
This is the area to introduce viewers to the context of this image. Briefly explain what it represents, why it matters, and how it aligns with the theme of your gallery.
06
Pasted Graphic 115.png
This is the area to introduce viewers to the context of this image. Briefly explain what it represents, why it matters, and how it aligns with the theme of your gallery.
07
Pasted Graphic 116.png
This is the area to introduce viewers to the context of this image. Briefly explain what it represents, why it matters, and how it aligns with the theme of your gallery.
08
01
02
Pasted Graphic 115.png
This is the area to introduce viewers to the context of this image. Briefly explain what it represents, why it matters, and how it aligns with the theme of your gallery.
03
Pasted Graphic 114.png
This is the area to introduce viewers to the context of this image. Briefly explain what it represents, why it matters, and how it aligns with the theme of your gallery.
04
Pasted Graphic 116.png
This is the area to introduce viewers to the context of this image. Briefly explain what it represents, why it matters, and how it aligns with the theme of your gallery.
05
© DAVID M. BARRON.png
This is the area to introduce viewers to the context of this image. Briefly explain what it represents, why it matters, and how it aligns with the theme of your gallery.
06
Pasted Graphic 114.png
This is the area to introduce viewers to the context of this image. Briefly explain what it represents, why it matters, and how it aligns with the theme of your gallery.
07
Pasted Graphic 113.png
This is the area to introduce viewers to the context of this image. Briefly explain what it represents, why it matters, and how it aligns with the theme of your gallery.

08
OXYCEN GROUN.png
This is the area to introduce viewers to the context of this image. Briefly explain what it represents, why it matters, and how it aligns with the theme of your gallery.
09
Pasted Graphic 110.png
This is the area to introduce viewers to the context of this image. Briefly explain what it represents, why it matters, and how it aligns with the theme of your gallery.
01 / 09
01
02
Pasted Graphic 115.png
This is the area to introduce viewers to the context of this image. Briefly explain what it represents, why it matters, and how it aligns with the theme of your gallery.
03
Pasted Graphic 114.png
This is the area to introduce viewers to the context of this image. Briefly explain what it represents, why it matters, and how it aligns with the theme of your gallery.
04
Pasted Graphic 116.png
This is the area to introduce viewers to the context of this image. Briefly explain what it represents, why it matters, and how it aligns with the theme of your gallery.
05
© DAVID M. BARRON.png
This is the area to introduce viewers to the context of this image. Briefly explain what it represents, why it matters, and how it aligns with the theme of your gallery.
06
Pasted Graphic 114.png
This is the area to introduce viewers to the context of this image. Briefly explain what it represents, why it matters, and how it aligns with the theme of your gallery.
07
Pasted Graphic 113.png
This is the area to introduce viewers to the context of this image. Briefly explain what it represents, why it matters, and how it aligns with the theme of your gallery.
08
OXYCEN GROUN.png
This is the area to introduce viewers to the context of this image. Briefly explain what it represents, why it matters, and how it aligns with the theme of your gallery.
09
Pasted Graphic 110.png
This is the area to introduce viewers to the context of this image. Briefly explain what it represents, why it matters, and how it aligns with the theme of your gallery.
bottom of page